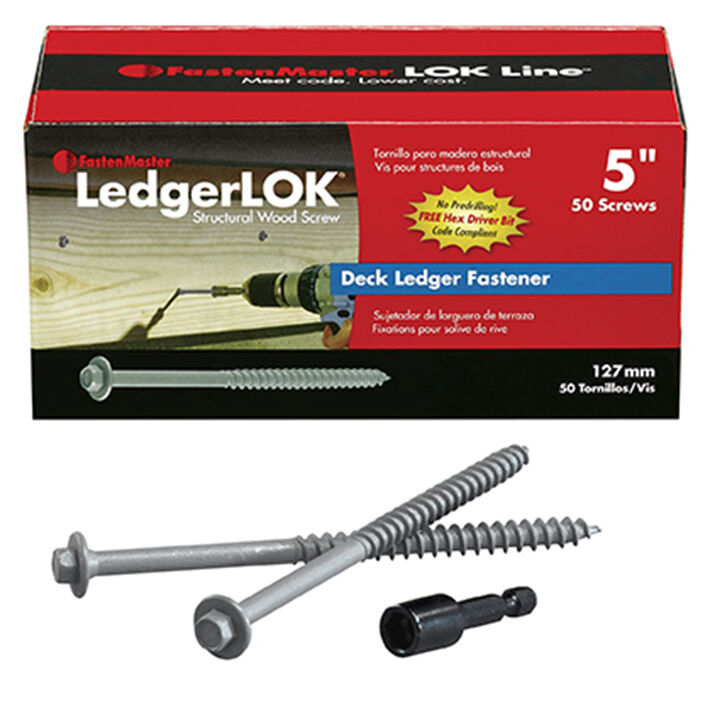
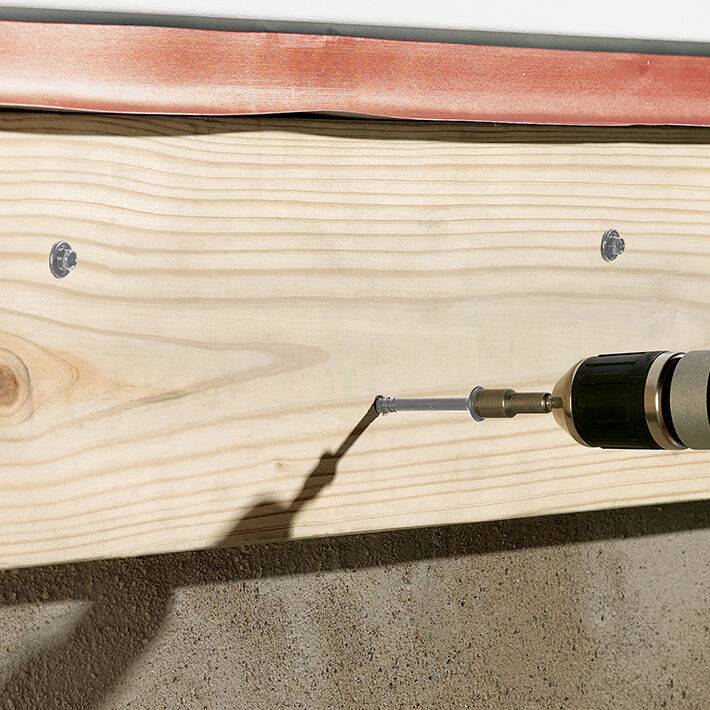
In the past, a lag screw was the preferred method for making the connection between a deck ledger and a rim board. With LedgerLOK, however, making a ledger to rim connection is faster and easier.
Connecting Deck Ledgers to Rim Board
What is a Ledger-to-Rim Connection?
Before going into the details of connecting a deck ledger to a rim board, it helps to discuss the materials and construction that go into these construction components. On the outside of the home will be the pressure-treated ledger board.
Behind the ledger is the sheathing, which is typically OSB, usually 0.5 inches to 0.75 inches in thickness. After the sheathing is the 2x traditional wood that creates the rim of the house or an engineered wood product. This material can be somewhere between 1.0 and 1.25 inches.
To properly secure the deck ledger to the rim board, deck builders need to drive a screw through all three materials, connecting the ledger to the rim board.
The Traditional Method: Lag Screws
The traditional method for securing the ledger to the rim board was to use a lag bolt – a thick and strong bolt that could hold firmly for decades. To install the bolts, builders would drill twice, once for the main body of the bolt, then another hole to bore out the width of the initial section of the hole, to create more room and help to avoid splits.
Installers then had to attach a washer and use a ratchet to drive the bolt through the ledger and into the rim board. All of these steps could be inconvenient, required multiple tools, and consumed precious time on the job site.


