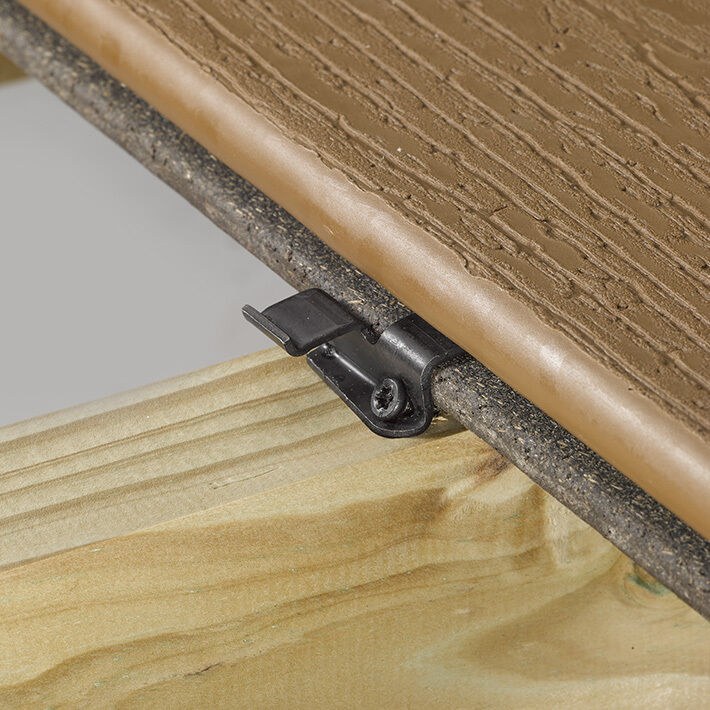
The Tiger Claw system, which features the Tiger Claw TC‑G clips for manufactured boards and the Tiger Claw TC-120 clips for hardwood, is an effective way to secure deck boards without leaving visible fasteners on the top the deck. These innovative clips firmly hold the decking in place, but a groove on the side of the board is required. You can order grooved decking in a variety of colors and designs, but what if your decking doesn’t have a groove?
It is possible to use straight-edge decking with the Tiger Claw TC‑G system, but it requires a builder to manually groove the boards before installation. Fortunately, the process is easy and can be accomplished with a wide variety of tools.
Getting in the Groove: How to Groove Deck Boards
Cutting a groove in a square-edged deck board can be done quickly. There are three different options you can use to complete the process:
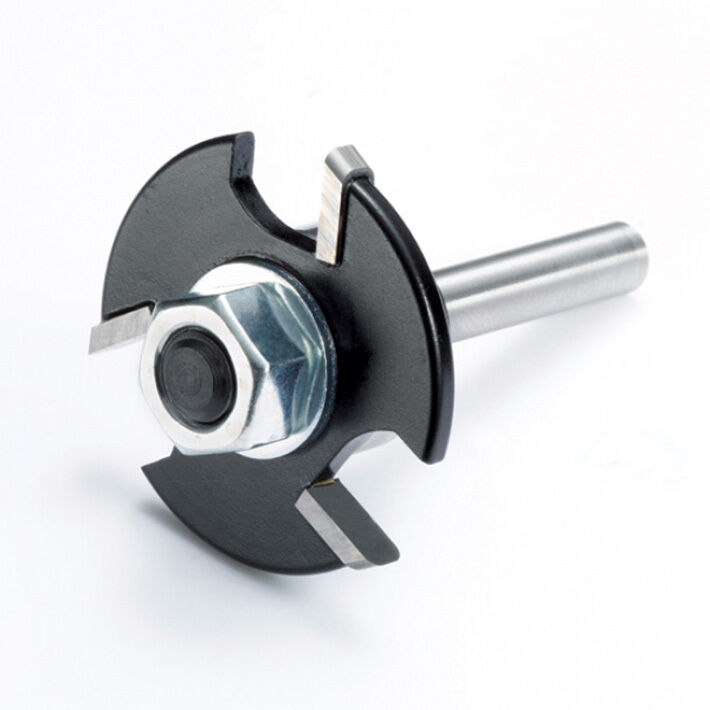
Tiger Claw Slot Cutter fixed to a router
Slot-cutting router bit that cuts a groove of 5÷32”
Biscuit or plate jointer
Using one of these tools, you can create grooves in a straightedge board that will allow you to use Tiger Claw clips for a fastener-free look.
Remember Your Safety
Before getting started, it’s important to review a few essential safety precautions:
Remember to unplug the router before adjusting the bit.
Using a router can be loud, and dust and debris can fly through the air. Always use ear plugs, a dust mask, and eye protection when grooving the boards.
While using the router, keep two hands and a firm grip on the tool.
Always cut from left to right. This is the direction that moves with the tool, not against it.
Grooving a Straightedge Board: The Process
With the router unplugged, install the router bit and adjust it so it sits at the correct height. This is absolutely critical, so take your time with the adjustments. Place the board on its edge so the side you want to groove is facing up. Using a tape measure, mark 13÷32” with a pencil. Next, take the router and hold it against the top of the board; adjust the router so the bit is sitting right at the marked depth.
Place the board flat on a surface and make the first cut. Turn the board so it is right side up and place a clip into the groove. (The prongs will go into the groove.) The clip should fit tightly and the body should sit firmly against the deck board, while the screw flange will barely touch the joist surface.
Once the router is set correctly, you can groove all of the deck boards. You can either groove the entire deck board from end to end, or you can place the board where it will be installed and make small grooves above each joist. If cutting small grooves for each joist, it may be more efficient to place two boards on the deck, then router two at a time. This is demonstrated in our short video. (Go to 2:30 for the two-board demonstration.)
The Hidden Fasteners You Need for a World-Class Deck
FastenMaster is proud to offer a large selection of top-quality fasteners for decking, new construction, and remodeling. The Tiger Claw system, as well as the Cortex Decking Hidden Fasteners is everything you need for a deck that is completely free of visible screws and nails!

