TimberLOK vs. Hurricane Ties: Two Methods for Attaching Trusses and Rafters
How to Install Hurricane Ties
Hurricane ties have been an effective way to make structural connections between a rafter or truss and the top plate. However, they are a time-consuming method that requires ten nails that need to be hammered into place one at a time.
To install a hurricane tie, you need to hold the metal piece in place and hammer the first nail to secure it to the truss or rafter. Once the first nail is in place, installers can secure the unit by hammering the remaining nails; five on the top and five on the bottom.
Installing hurricane ties is a secure method to make this connection but it can take as much as a minute to install a single hurricane tie. (In a demonstration, the hurricane tie required 54 seconds to install.) Over the course of building a single-family home or a major multi-family project, these minutes can add up to a lot of time and labor, especially on large projects.
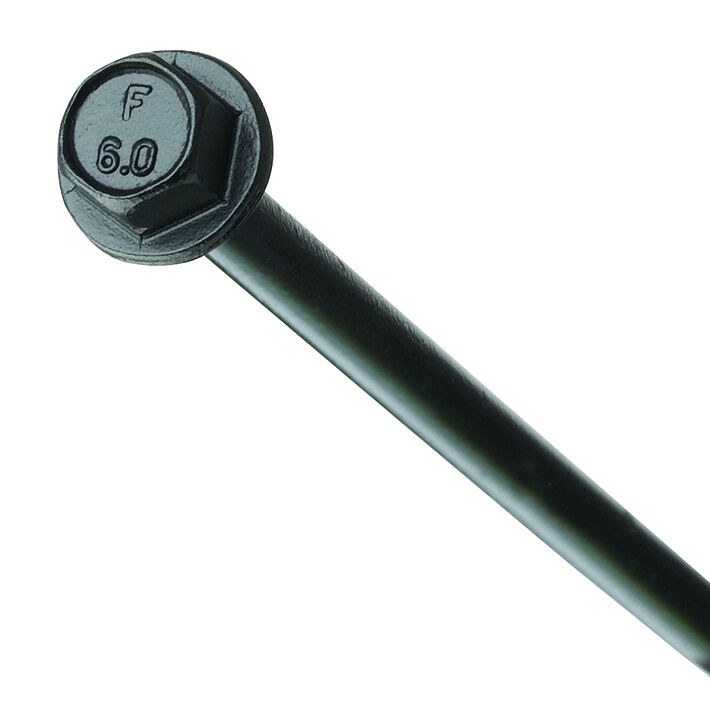
6” TimberLOK
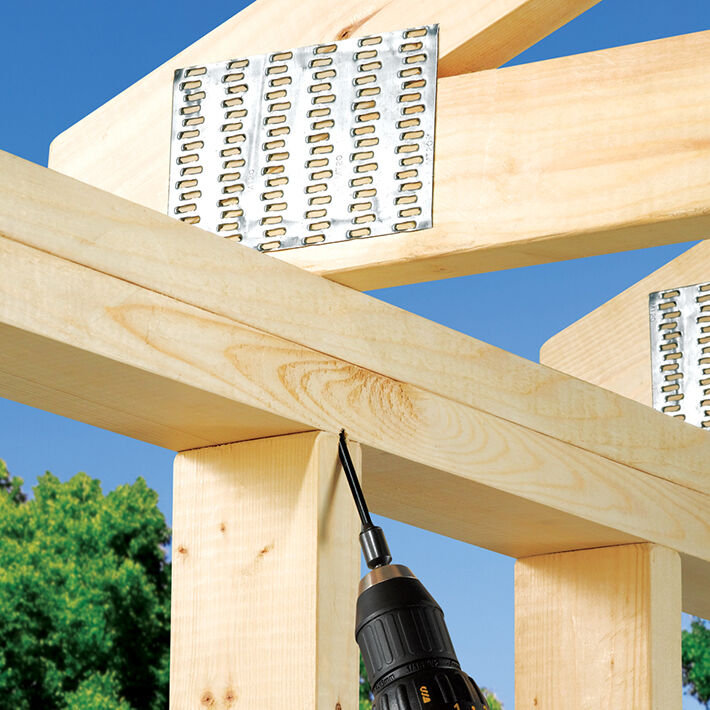
Alternatively, TimberLOK screws offer a faster and easier way of securing trusses and rafters. TimberLOK’s are made of carbon steel and heat-treated to achieve the right balance between strength and ductility allowing them to withstand the lateral and uplift loads placed on a truss. Instead of needing a hurricane tie and ten nails (and a hammer, of course), installers simply need a TimberLOK screw and a drill with the appropriate bit.


