
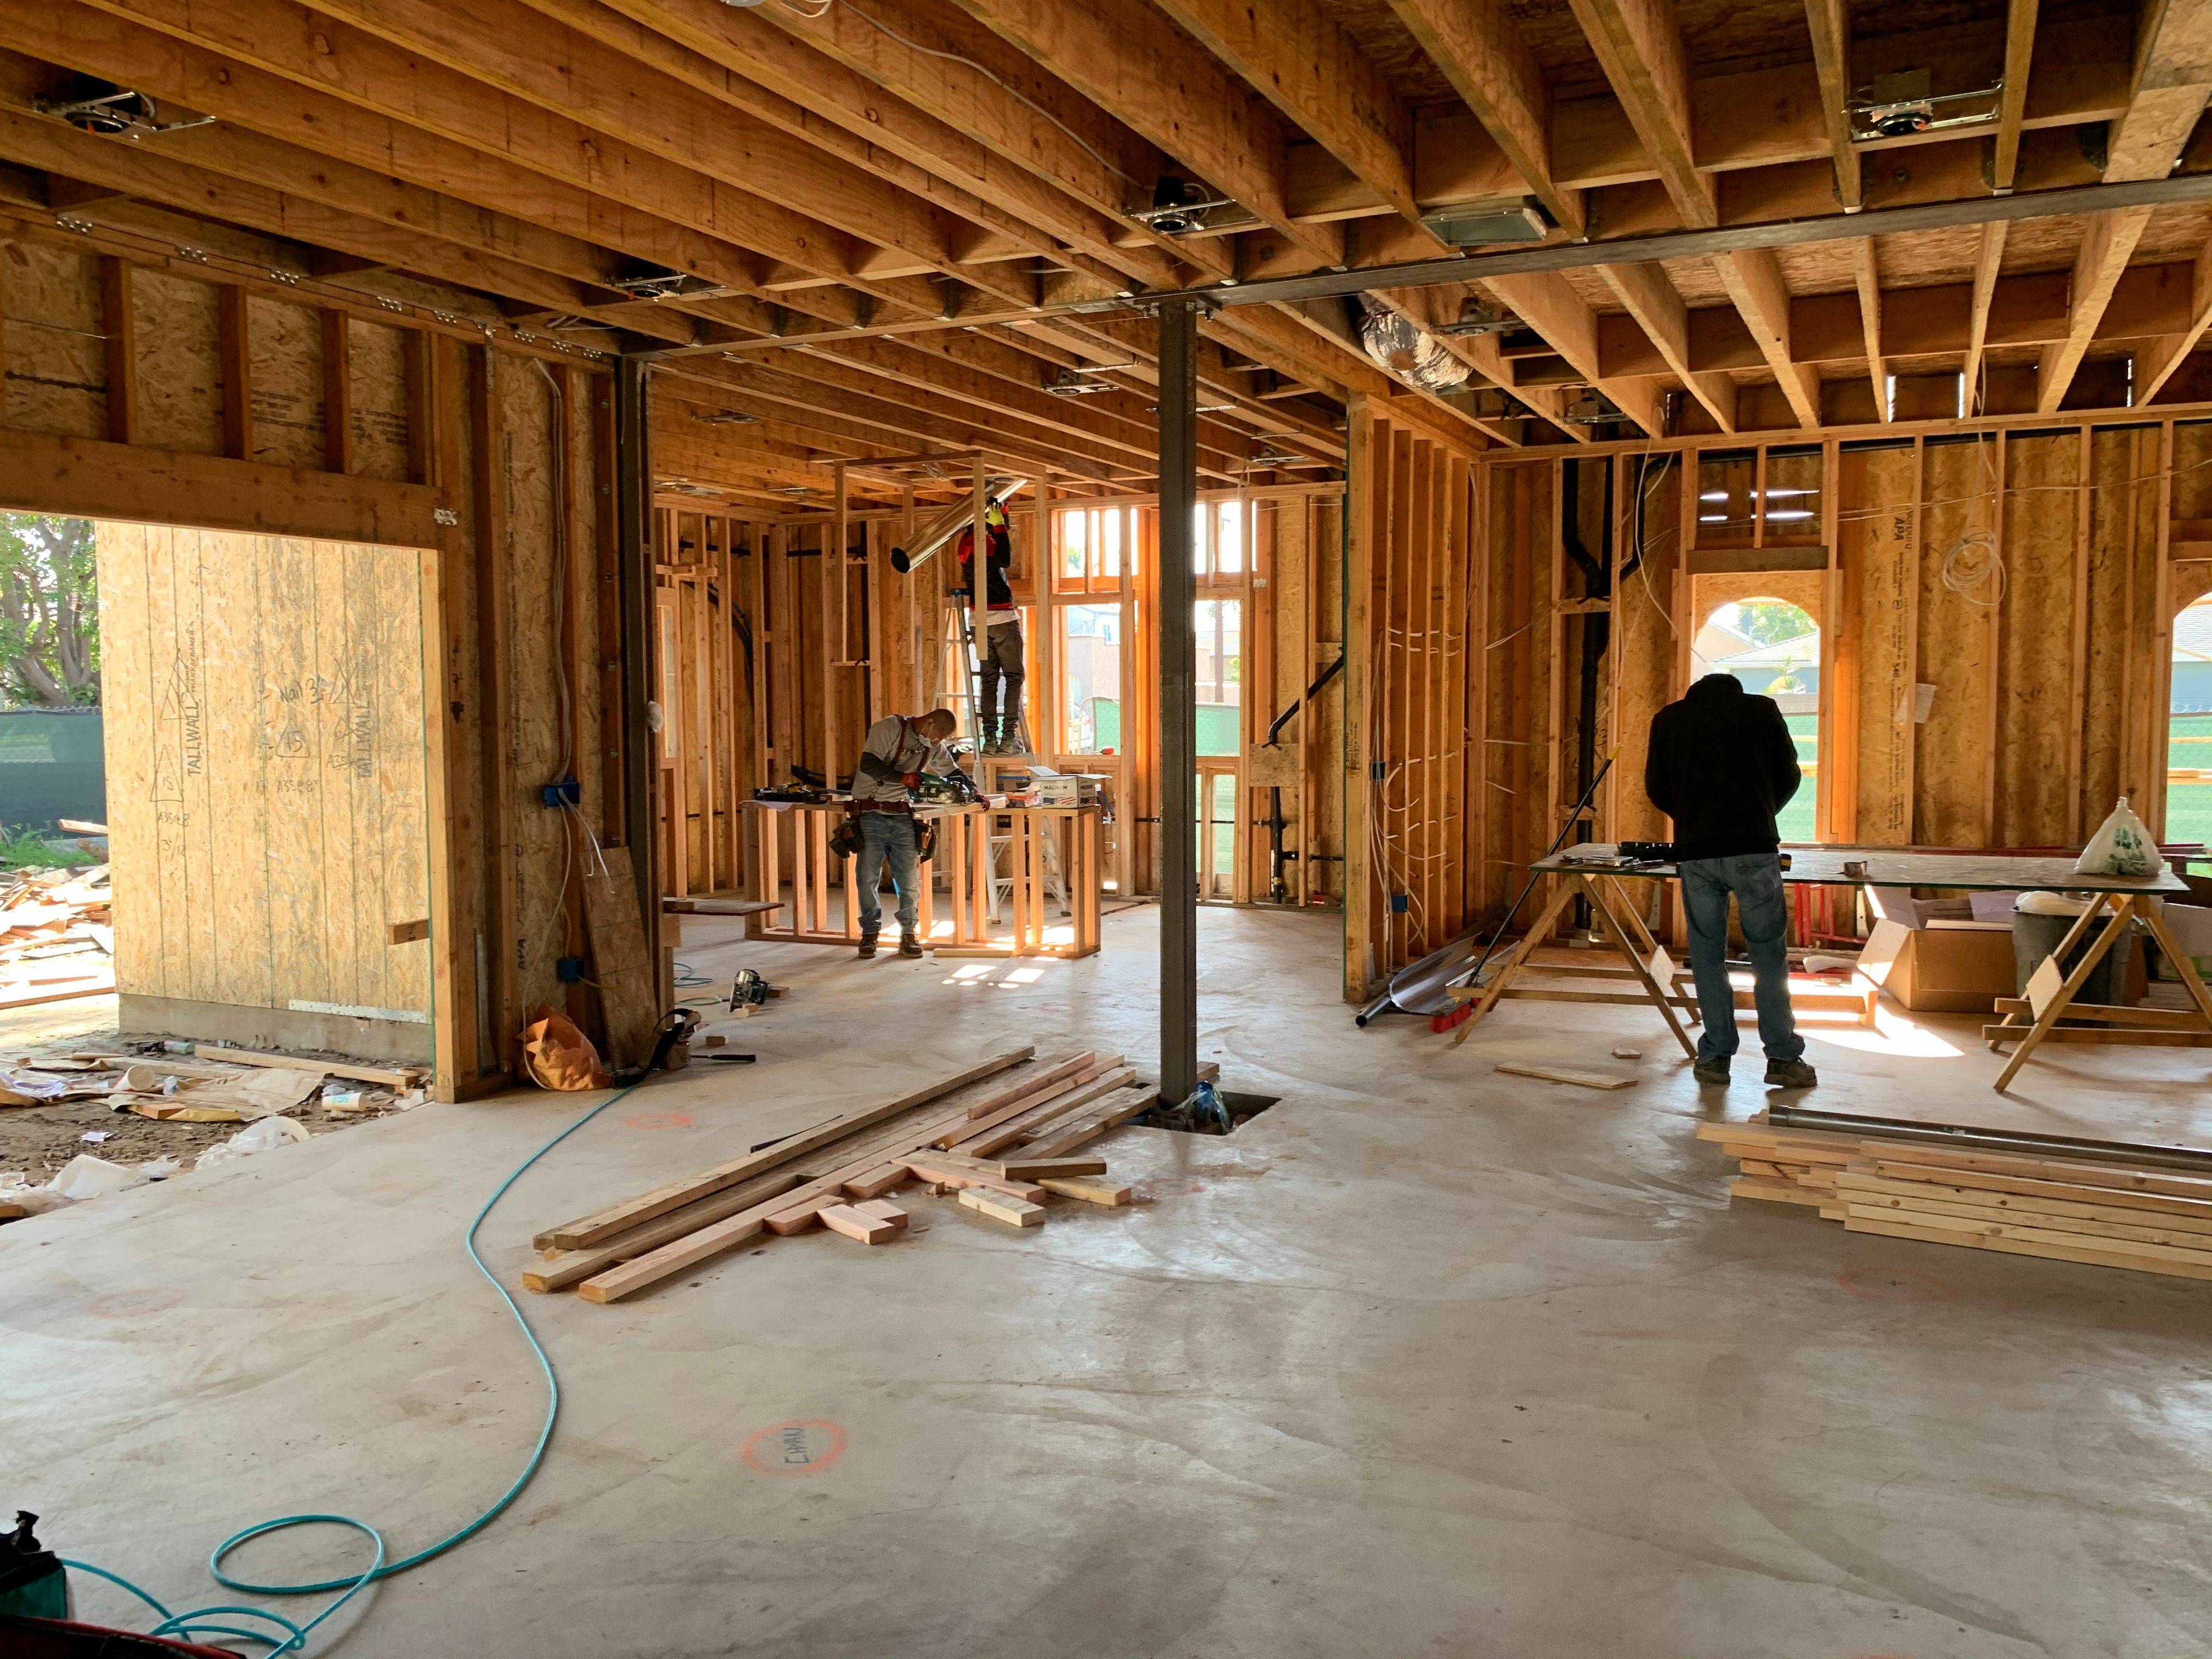
Mismatched tools are a silent drain on your bottom line. The cost rarely comes in one dramatic hit; instead, it bleeds out in the 20 minutes a framer loses hunting for the right bit, or the downtime spent when three crew members try running three different fastening systems on the same wall.
None of these show up on an invoice, but every one of them cuts directly into your daily output.
The good news is that standardizing your framing setup can fix this overnight. When every crew member reaches for the same tool and installs every connection the same way, job site consistency becomes automatic.
Below is a breakdown of what a fully standardized framing kit looks like, why code-compliant screw systems outperform traditional clips and bolts on speed and inspections and how you can make the transition seamlessly without slowing down active crews.
Core Framing Tools: Where Standardization Pays Off
A framing crew runs on three things: what cuts the material, what drives the fastener and how fast either tool gets back in hand after it’s set down. Standardize those, and the rest of your framing system falls into line.
Nailers: Standardize the Magazine
Your nailer platform sets the pace for everything downstream. Select pneumatic, cordless or a mix of both by application. Then, stock the whole crew the same way so magazines, fasteners and spare parts interchange smoothly.
When you run three brands, you’re stocking three fastener inventories. Grab the wrong strip, and that’s 10 minutes you’ll never bill for.
Instead, match the tool to the connection. Use nailers for sheathing and repetitive framing where speed wins, and use structural screws for load-path connections where the fastener itself carries the code requirement.
Screw Guns: Stop Loading One at a Time
This is an easy place to lose time. With a standard driver, you load one screw at a time, with one hand holding the material and the other driving. That works for a dozen fasteners, but it gets old fast when you’re working across an entire floor system.
Automated screw systems like PAMFast collate and feed fasteners automatically, so the driver can keep working without stopping to reload. For structural connections, pair the screw gun with a code-compliant structural screw system. You’ll spend less time installing fasteners and reduce the chances of missed or improperly installed connections.
Saws: Cut Accuracy Is Frame Accuracy
A stud that’s an eighth of an inch too long can throw off the plate, header and jack studs that go on top of it, adding up as the wall comes together.
Keep your blade size and tooth count consistent so changing blades doesn’t change your cut. It also helps to keep a dedicated saw station rather than passing a circular saw from person to person along the wall.
Cordless saws have stepped up over the years, and there’s no reason to work with extension cords running across a deck. Fewer cords underfoot mean fewer things for the crew to trip over, especially when they’re already stepping backward and handling fragile materials.
Layout and Measurement Tools: Get the Marks Right
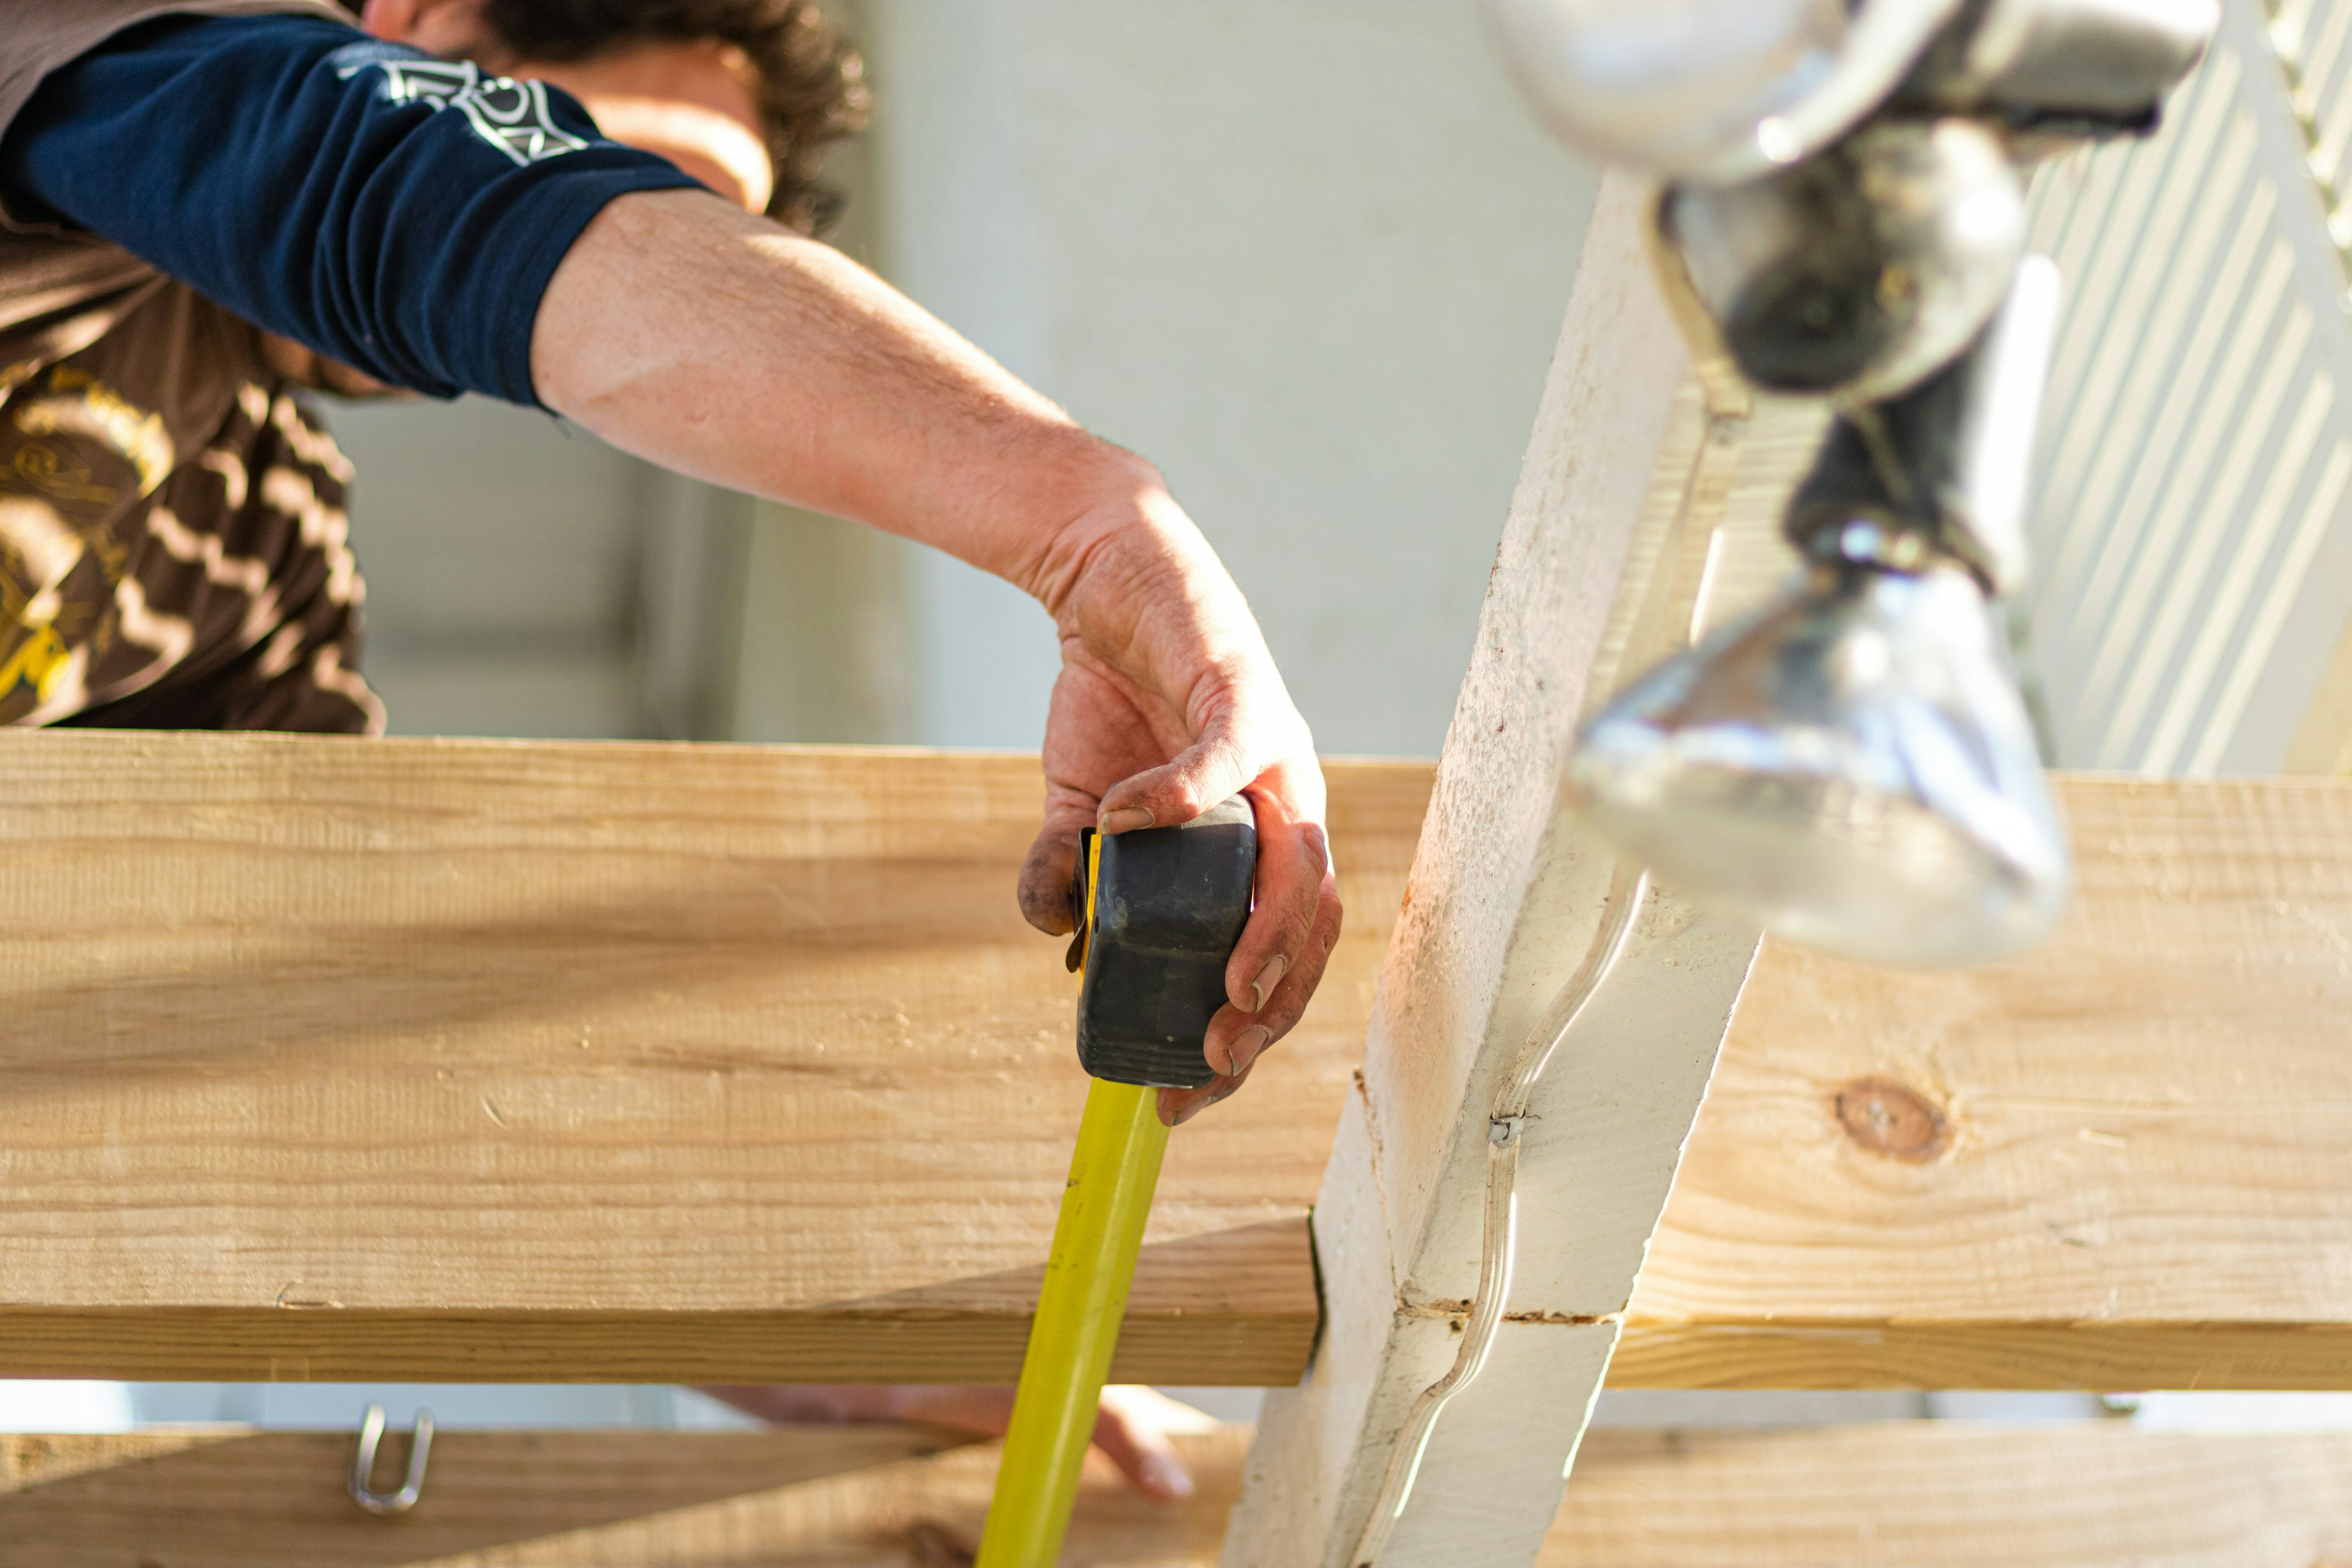
Layout errors are easy to make and expensive to fix once framing is underway. Standardizing quality layout tools across the crew is one of the simplest ways to ensure everyone is working to the same standard.
Framing and Speed Squares
Tool wear and inconsistent markings can cause slight layout variations that eventually become large ones.
To keep work precise across the crew, inspect and replace squares regularly rather than waiting for a noticeable drop in accuracy. Reserve large framing squares for stair stringer and rafter layouts at the cut station, where longer legs minimize step-off errors.
Layout Sticks and Story Poles
A simple way to speed up consistent stud layout is by using a layout stick, but plenty of crews still skip it. Instead of pulling a tape and marking each stud, you can mark the spacing on the stick and transfer those marks to the plate in one pass. On a 40-foot wall, that can save a fair amount of time and keep small spacing mistakes from carrying down the wall.
You can do the same thing with fastener patterns. Make a stick or template with the required screw spacing and keep it with the crew for ledgers, truss-to-plate connections, beams and other repeat connections.
Story poles are useful when the layout moves up the wall. Mark the openings on the pole once and use those marks as you go.
Chalk Lines and Laser Levels
For long, straight layouts on decks and subfloors, chalk lines are hard to beat. Snap the fastener rows onto a ledger before the crew starts driving screws, and everyone has a clear line to follow.
Lasers are useful for anything that needs to be plumb, level or set to a specific elevation. They make jobs like setting posts, transferring elevations and checking a foundation much easier than relying on a string and multiple different people. One good rotary or line laser per crew is usually enough. Catching an out-of-level ledger before the joists go on can save a lot of rework.
What Standardizing Your Tools Does for the Crew
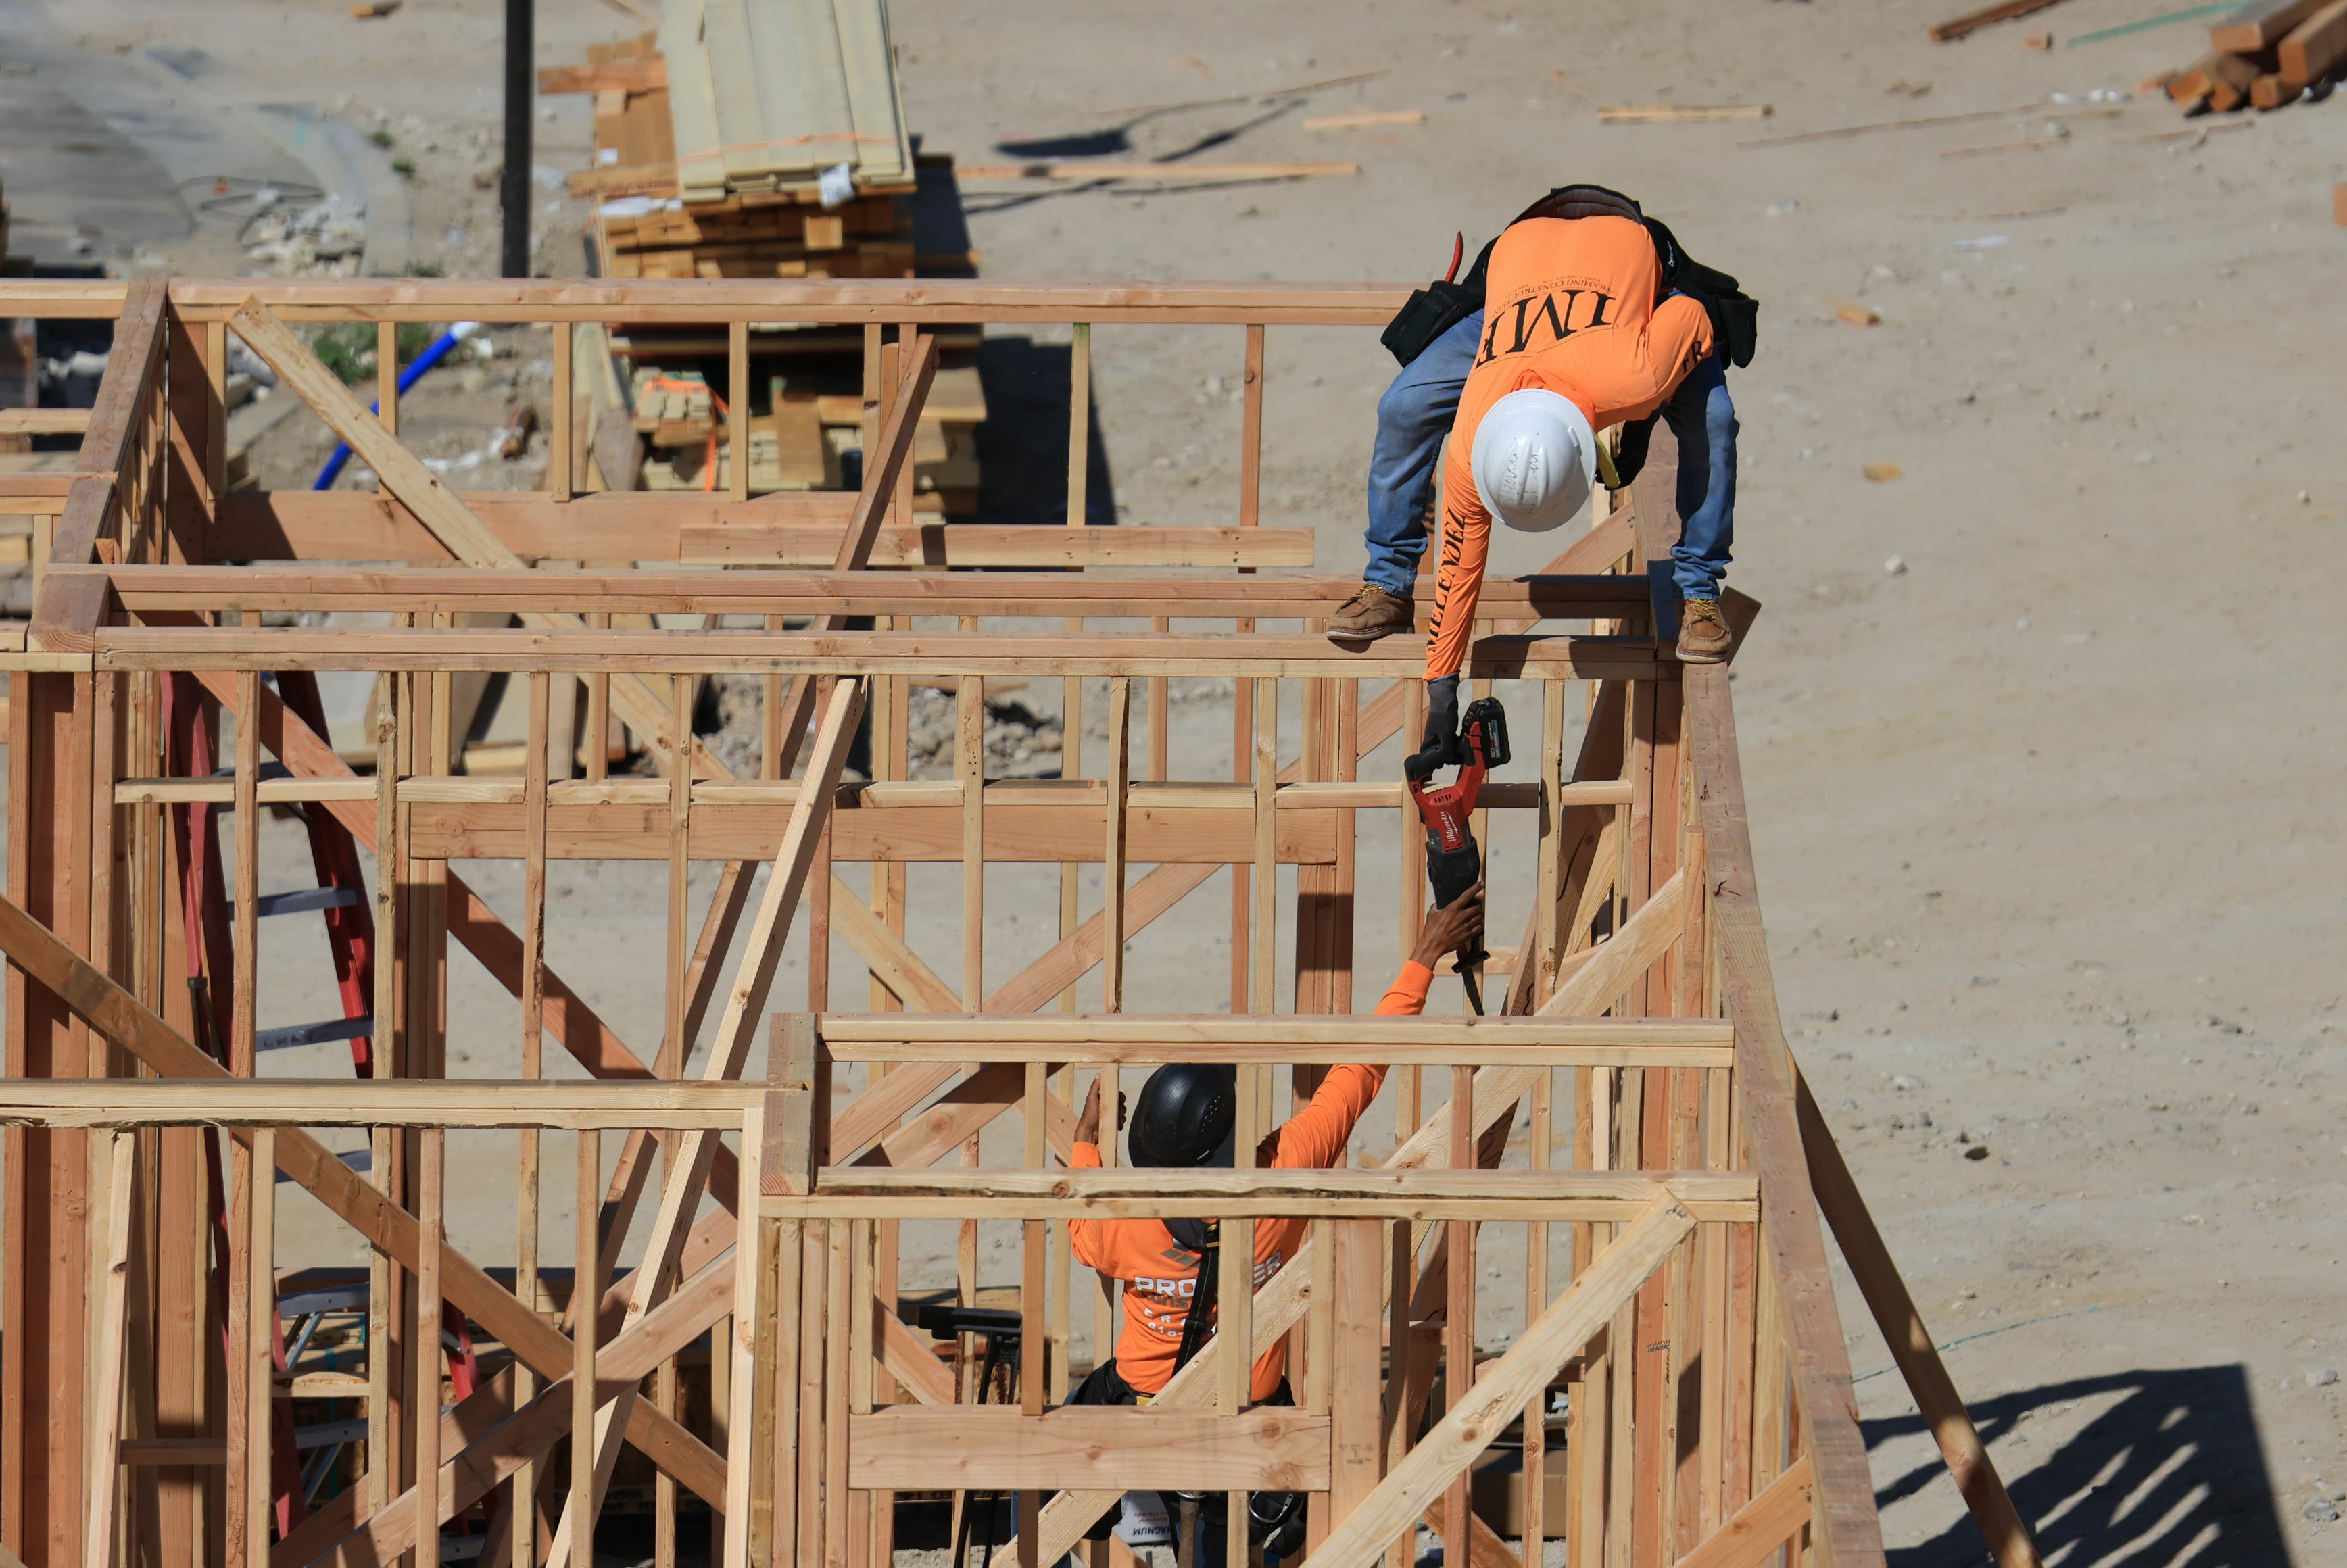
The biggest benefit when everyone is using the same tools and following the same setup is that there are fewer surprises during the build or inspection.
One Fastener Inventory
Keep the power tools and fasteners as consistent as possible across the crew. With a small group of structural screws, such as FrameFAST™ for truss and stud connections, LedgerLOK® for ledgers and FlatLOK® for multi-ply beams, you can cover most of the connections the crew will run into.
That also means fewer fasteners to keep stocked and fewer trips back to the truck.
Faster Installs on Critical Connections
FrameFAST installs five times faster than clips. Structural screws can also replace bolts without the predrilling that bolts require. Across an entire floor system, those time savings add up quickly.
Consistent Work, Less Training
Give your crew the same driver, fasteners and spacing to work with, and there’s less for a new hire to figure out. They learn the process once and use it throughout the job. That cuts down on training time and gives the foreman less to check as the work moves along.
First-Pass Inspections with Zero Callbacks
Code-compliant systems come with engineer-stamped evaluation reports that meet IRC wall requirements, giving you all the paperwork you need in one place when the inspector shows up.
Using the same hardware and installation methods across the crew also makes it easier to catch structural problems while the work is still being done: fixing an issue in the field is a lot cheaper than dealing with a warranty claim later.
The Right Framing Tools, From Start to Finish
Your tools don’t have to be brand new, but they do need to work well together.
When your crew uses the same basic setup, they spend less time looking for tools, figuring out multiple fastening methods or fixing avoidable mistakes. The work moves along more smoothly and it’s easier to keep things consistent.
At FastenMaster, we offer 50-state code-compliant framing systems, along with technical support for the crew using them.
Schedule a demo today to see the difference on your next build.